This is a continuation of Part 1 of this series.
With all of the pieces cut, drilled, and welded to make the square frames of the labyrinth, it was time to start aligning the bearings that everything pivots on.
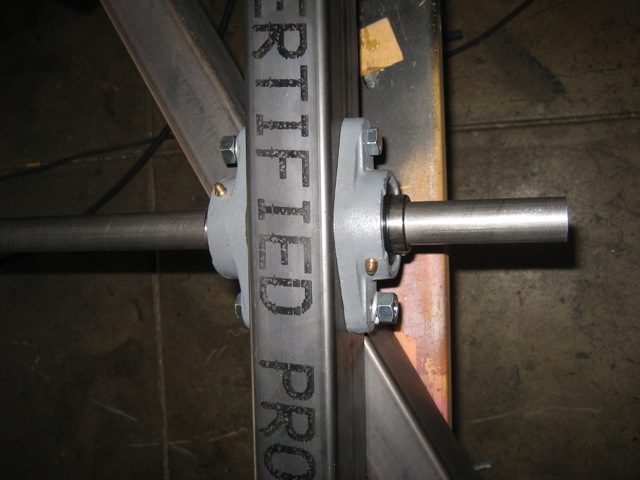 I attached a pair of 1″ ID flange mount bearings to both sides of the holes. I left the bolts loose so I could let the exact position float a bit. Getting bearings aligned is a bit of an art, and it’s easier to wait until the last minute before tightening things down.
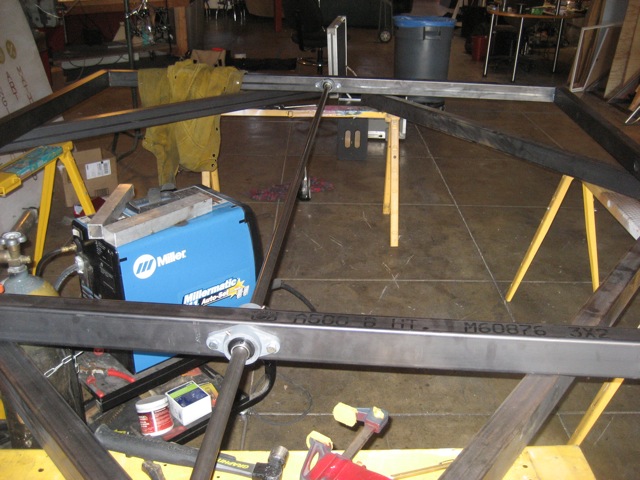 I bought a long 1″ rod for use as my shaft. It isn’t hardened, ground accurately, or anything like that. It’s just cheap 1018 steel. The stock tolerances were enough so the bearings slide easily on the rods, which is all I need. I ran the full length of rod through both pairs of bearings on the steel frame to confirm that I can get it all lined up.
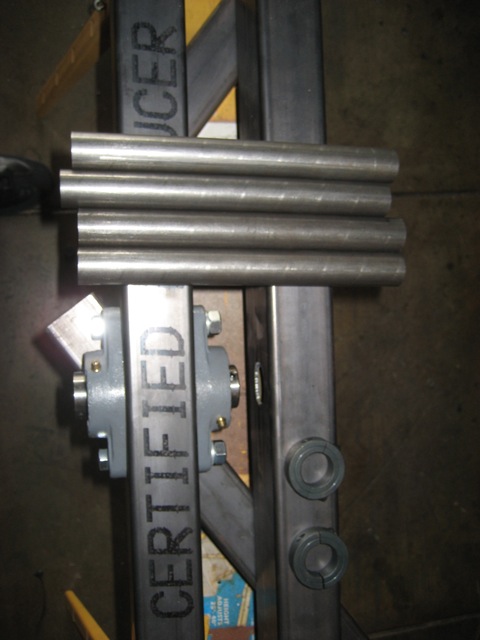 Once I had knew the bearing alignment was satisfactory, I cut the shaft into the smaller pieces that I’d need. Â I also welded the shaft collars onto the frames. Â The shaft collars are split, so I welded one half to the frame, and let the other side remain removable, so I can easily remove the 1″ shaft if I wanted to take the whole thing apart. It’s very important to think about things such as assembly, maintenance, and transportation while putting together such a large and heavy project.
 I assembled all of the bearings, shafts, and frames. It takes a couple of people to get everything lined up, but it goes pretty quickly. It was a great feeling to see the inner frame move around in 2D very smoothly. The steel has a little bit of inertia, but it’s really not too bad.
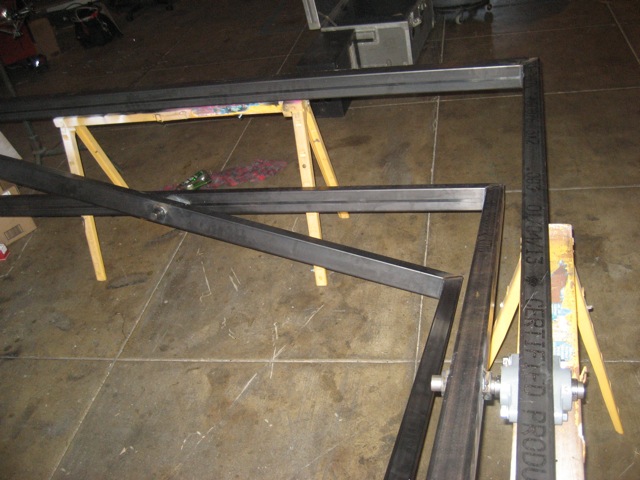
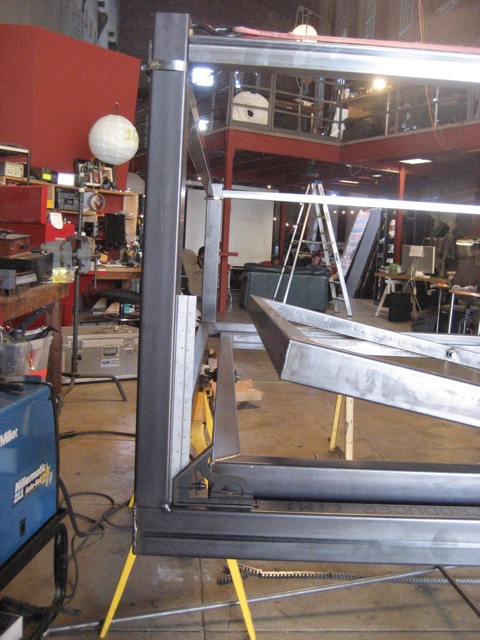 The next task was to start building the frame that supports the labyrinth. I cut off some more of the 2″x3″ steel tubing and some 1.5″ square tubing I had leftover from previous projects. I wanted everything to be square and true, so I had to be creative with how I held everything in place. I used hoseclamps to hold the tubing at the right height and ratchet straps to get it all snugged together for welding. The end result turned out very satisfactory.
Follow along to Part 3!
You will find the best GPS Store for purchasing Garmin GPS
Systems, Automotive GPS, GPS Accessories, and a lot more.
As mentioned, the 210 is a smaller GPS watch than the majority of of Garmin’s other Forerunner
products.
With Garmin Oregon 450 it’s possible to help keep
and share your pursuits to a new net related Laptop so that you
can examine these routines later on on. Garmin electronics bring
many things and knowing what your options are is always a smart idea.
Garmin gps with camera The point is that you are able to track folk or objects remotely that
makes GPS tracking devices with GSM tracking rather
more convenient.